
How to install a kitchen sink correctly
Correct sink installation has a major impact on everyday comfort in the kitchen. It determines not only whether the plumbing is watertight, but also the durability of the worktop and the entire cabinet system. Even a high-quality sink will not perform properly if it is positioned inaccurately or sealed incorrectly. This guide takes you through the whole process step by step, from choosing the sink type to the final leak test.
Sink types and installation methods
The installation method depends directly on the sink design and the type of kitchen worktop. Differences between models affect not only appearance, but also the requirements for sealing, stability and preparation of the installation opening.
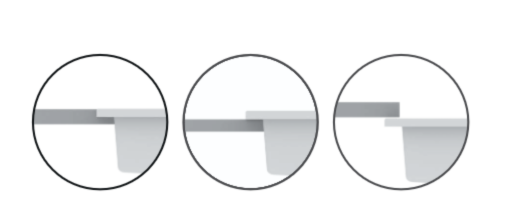
Three basic solutions are used in practice:
-
Inset sinks,
-
Undermount sinks (Undertop sinks),
-
Flushmount sinks.
Each type requires a different installation technique and degree of precision. Inset models are the easiest to install without professional support, while Undermount and Flushmount solutions require accurate fitting and often the assistance of a specialist.
The right solution should be selected according to:
-
the worktop material: laminate, wood, stone or composite,
-
the weight of the sink,
-
how the kitchen is used,
-
access to the water and waste installation.
A well-matched and correctly installed sink reduces the risk of leaks and worktop damage, which is particularly important in modern fitted kitchens.
Inset sinks
Inset sinks are fitted directly into an opening cut in the worktop, making them the simplest option to install. Their rims rest on the worktop surface and stabilise the complete unit.
The installation process includes:
-
Cutting the worktop opening: its dimensions must be matched precisely to the sink using the manufacturer's template.
-
Applying sanitary Silicone: the edges of the opening must be protected against moisture to reduce the risk of the worktop swelling.
-
Installing the fixing Clips: the sink must be positioned securely and pressed evenly against the worktop surface.
Even pressure on the sink and careful sealing of the edges are essential. If this stage is completed inaccurately, water can penetrate beneath the worktop, especially when laminated boards are used.
This solution works well in standard kitchen designs and with popular sink types such as stainless steel sinks, which are lightweight and easy to work with.
Undermount sinks (Undertop sinks)
Undertop sinks are installed beneath the worktop, creating a smooth transition between the work surface and the sink Bowl. This design is easier to keep clean because there are no rims that trap dirt.
Installation requires:
-
precise cutting of the worktop opening,
-
the use of brackets or fixing systems,
-
very careful sealing of the joint.
The best results are achieved with stone or composite worktops, which resist moisture. Structures made from lighter materials require additional reinforcement.
Incorrect Fixing can deform the material or cause the joint to leak. High-strength assembly adhesives and mechanical systems are therefore often used.
Flushmount sinks
Flushmount sinks form a continuous surface with the worktop, improving ergonomics and making cleaning easier. The absence of an edge removes areas where water and dirt can collect.
Installation requires:
-
routing the worktop to the sink's exact dimensions,
-
maintaining minimal installation tolerances,
-
precise sealing around the entire perimeter.
This solution is used mainly in kitchens with a premium standard of Finish. Because of the technical requirements, installation is usually carried out by experienced professionals.
Granite and stainless steel sinks: differences in installation
The sink material directly affects the installation method and the choice of fixing components. Granite sinks are heavier and more substantial, so they require a more stable base and more accurate sealing.
For granite sinks, stronger Clips and Silicone designed for stone are used to avoid discolouration. Stainless steel sinks are easier to install and are therefore often chosen for self-installation.
Preparing to install the sink
Careful preparation of the installation area reduces the risk of errors and speeds up the process. Missing tools or inaccurate measurements are the most common causes of poor fitting and leaks.
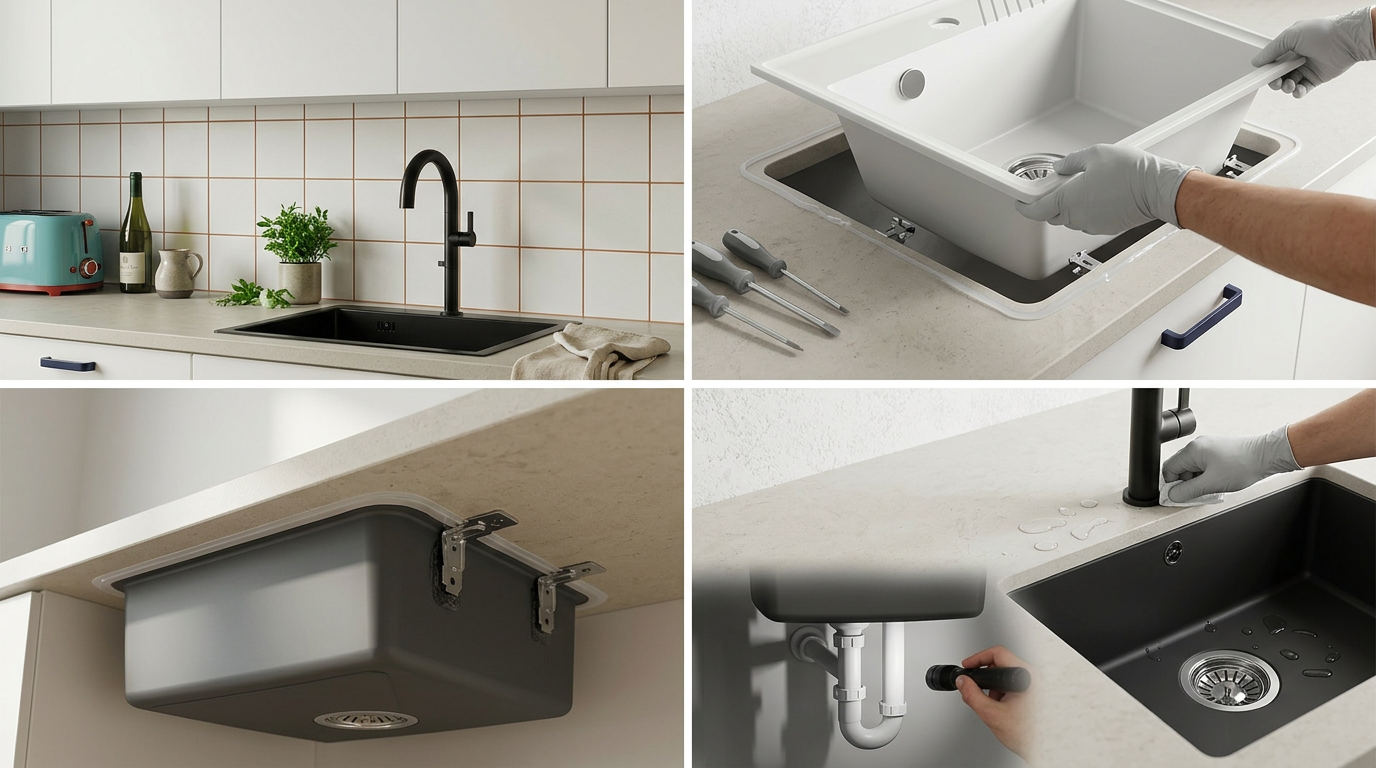
Tools and materials required
You will need a Siphon spanner and a screwdriver to assemble the installation components correctly. Required materials include sanitary Silicone for sealing and sealing tape for threaded joints.
It is also worth preparing:
-
a jigsaw for cutting the opening,
-
a spirit level for checking the position,
-
a Silicone applicator gun,
-
fixing Clips suitable for the sink model.
When installation components need to be replaced, Spare parts for sinks can help you match the Siphon or drain quickly.
Measuring and cutting the worktop opening
Accurate marking of the worktop opening determines the stability and watertightness of the installation. Even small deviations can prevent the sink from being positioned correctly.
The process includes:
-
Tracing the sink shape using the manufacturer's template.
-
Maintaining an appropriate installation margin.
-
Cutting the opening with a jigsaw along the marked line.
The edges of the worktop must also be protected against moisture, particularly with laminated boards. Silicone or specialist impregnating products can be used for this purpose.
Steps for installing the sink
Following the correct order of work helps avoid removal and corrections later. It is best to begin with the plumbing components and only then position the sink in the worktop.
Step 1: Installing the Siphon
Installing the Siphon before positioning the sink provides easier access to the connections and greater control over watertightness. This component drains water and blocks unpleasant odours.
During installation:
-
fit the seals carefully,
-
tighten the joints evenly,
-
check the stability of the complete system.
Errors at this stage cause leaks that only become visible once the installation is used.
Step 2: Positioning the sink in the opening
Positioning the sink in the worktop requires even pressure and prior application of a seal. Sanitary Silicone is applied to the edge of the opening to protect the worktop against moisture.
After inserting the sink:
-
position it centrally,
-
tighten the fixing Clips,
-
check that it is level.
Uneven tightening may create stress and deform the material.
Step 3: Sealing the sink edges
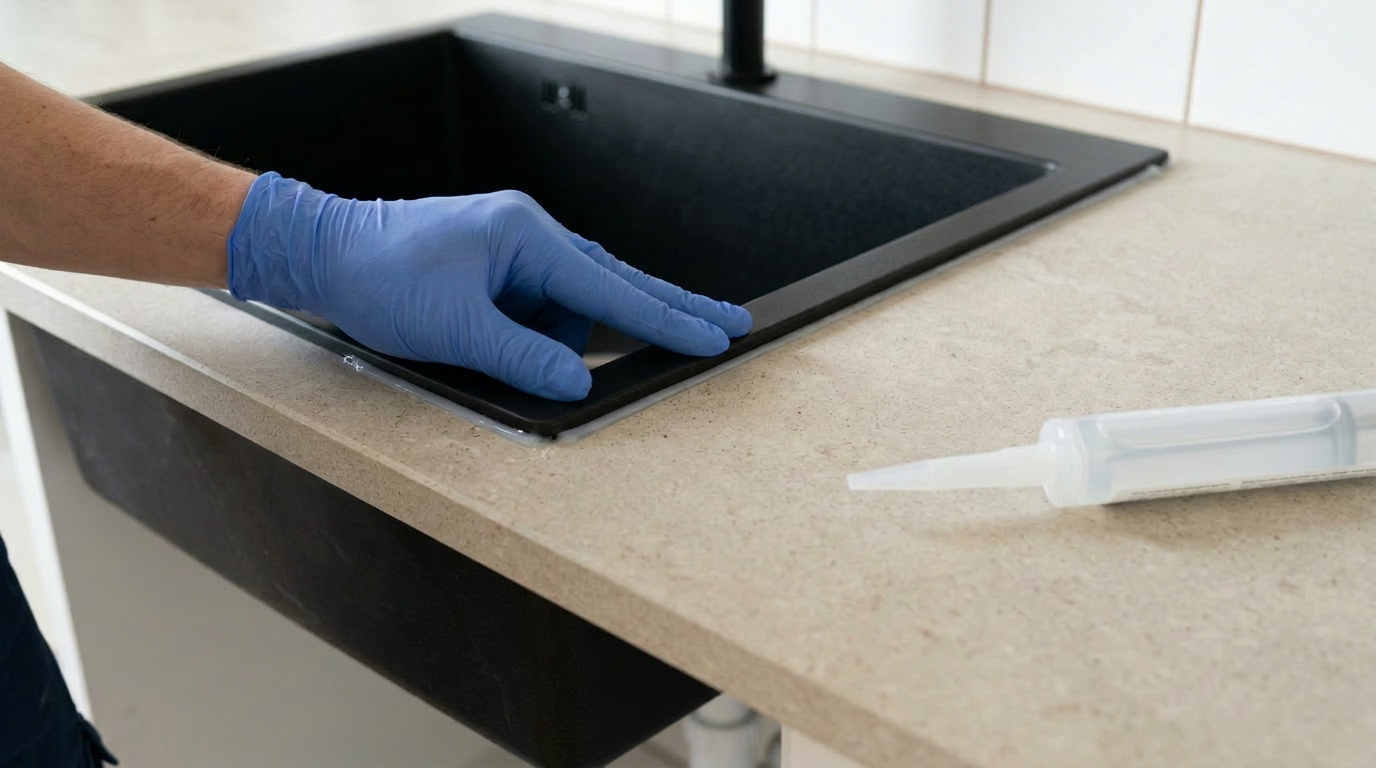
Careful sealing prevents water from penetrating beneath the worktop and extends the service life of the entire cabinet system. Remove excess Silicone immediately after installation, before it begins to cure.
For heavier models, a more flexible Silicone is used because it compensates for material stress more effectively.
Final stage of sink installation
The final stage includes connecting the fittings and checking the complete installation for leaks. The sink can be used safely only after these steps have been completed.
Installing the Kitchen mixer
The Kitchen mixer is installed by securing its body and connecting the hoses to the water supply. It is usually fitted directly in the sink opening. A correctly installed Mixer should not move or leak around its base.
Leak testing and sealing
A leak test reveals installation errors before the sink is put into use. To perform the test:
-
turn on the water,
-
check every connection,
-
inspect the drain and overflow.
If a leak is found, the components must be tightened or the seals replaced. Regular checks reduce the risk of damage to kitchen furniture.
Self-installation or professional assistance
Installing a sink yourself is possible with simple designs, but requires accuracy and basic knowledge of water installations. It works best with Inset models and lightweight materials.
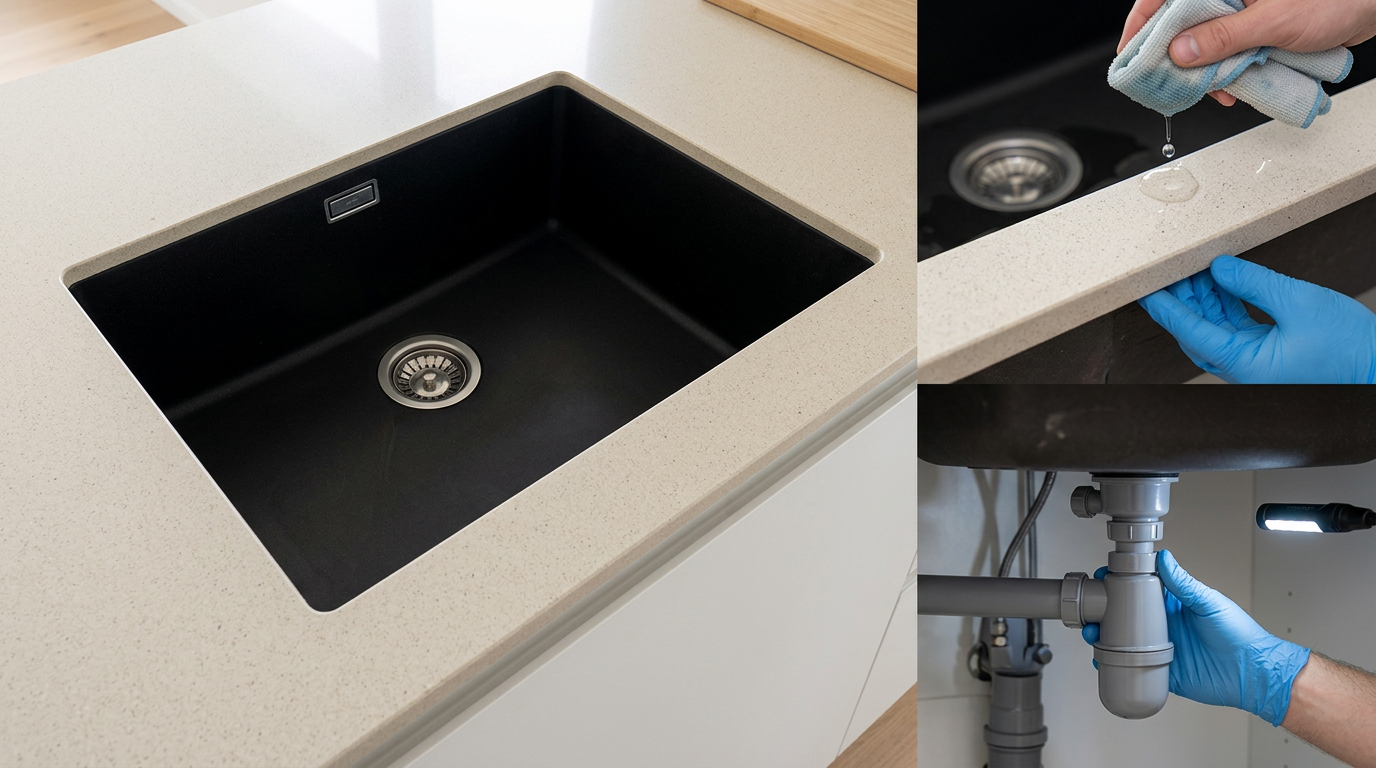
Professional installation is advisable when:
-
an Undermount or Flushmount sink is being fitted,
-
the worktop is made from stone or composite,
-
the installation requires modification.
Experienced installers select suitable fixing and sealing techniques, improving the durability of the entire cabinet system. For more demanding projects, professional assistance helps avoid costly corrections.
FAQ: frequently asked questions
How do you cut a sink opening without damaging the worktop?
The best method is to use the manufacturer's template and a jigsaw fitted with a suitable blade. Protecting the edges with masking tape helps reduce the risk of chipping and scratching.
Can a sink be installed without Silicone?
No. Sanitary Silicone makes the joint between the sink and worktop watertight. Without a seal, moisture penetrates the material and causes damage.
How long does Silicone take to dry when a sink is installed?
Standard sanitary Silicone becomes touch-dry after approximately 30 minutes, while complete curing takes between 12 and 24 hours. The sink should not be used during this period.
Can a granite sink be installed without professional help?
Yes, but the work requires greater precision and stable Fixing. Because of the weight and the need for careful sealing, installation may be more difficult than with stainless steel models.
How do you check for leaks after installing a sink?
Once the plumbing has been connected, turn on the water and observe every joint. Pay particular attention to the Siphon, drain and the Kitchen mixer installation point.
Is every worktop suitable for an Undermount sink?
No. Stone and composite worktops are the most suitable. Laminated materials can be damaged by moisture.
How do you choose the right Siphon for a sink?
The Siphon should be matched to the number of Bowls and the drain diameter. Models with an overflow require a compatible set.
What should you do if the sink does not sit evenly on the worktop?
Check whether the opening has been cut correctly and whether the fixing Clips have been tightened evenly. If necessary, reposition the sink and correct the seal.


