
How to install a linear drain – step-by-step guide
Correct installation of a linear drain requires precise substrate preparation, the formation of a suitable fall and a watertight waterproofing layer. A properly installed drainage system ensures trouble-free operation of a walk-in shower for many years. Read our guide to learn what deserves particular attention during installation work so that you can avoid leaks and water drainage problems in the bathroom.
What is a linear drain?
A linear drain is a drainage system installed directly in the floor or wall that replaces a conventional acrylic shower tray. It consists of a long channel that collects the water, an integrated siphon that blocks unpleasant odours from the drainage system, and a top cover known as a grate. Its main function is to direct wastewater efficiently and safely into the sanitary drainage system.
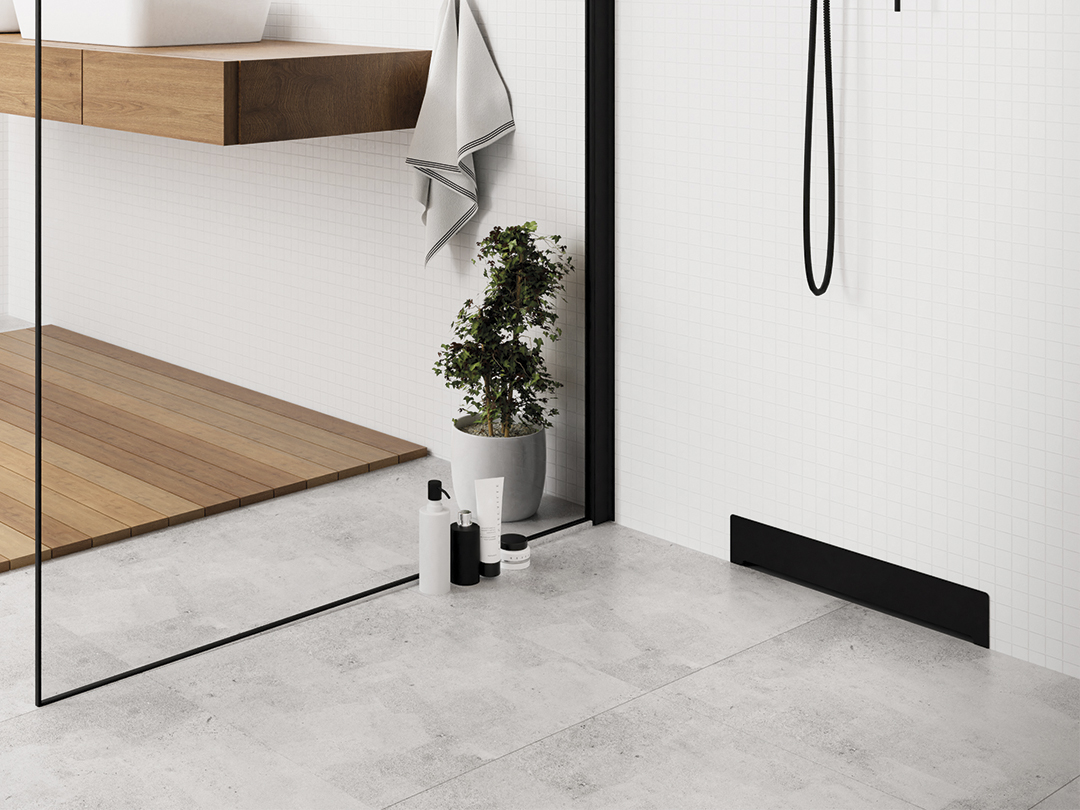
Removing the visible barrier created by a threshold allows a smooth transition between the dry and wet zones of the bathroom. Linear drainage offers extensive design freedom because the entire floor, including the shower enclosure, can be finished with the same type of ceramic tile. This solution provides the technical basis for increasingly popular open walk-in showers. For the system to work correctly, the body must be set into the floor screed, which requires a floor structure of sufficient thickness and careful planning of the installation work.
Advantages of linear drains
The greatest advantage of linear drains is the possibility of creating a threshold-free shower area, which directly improves safety and everyday bathroom ergonomics. The absence of physical obstacles makes it easier to enter the shower and addresses the needs of people with reduced mobility, older users and children.
From a design perspective, drains of this type can make the space appear larger. A continuous floor eliminates the visual divisions associated with high shower trays. Hygiene is another benefit. In high-quality products, a removable sediment trap and easy access to the siphon from above allow dirt to be removed quickly without aggressive chemicals or a visit from a plumber.
Kuchinox designers develop their systems with a particular focus on functionality and modern design. This demonstrates that advanced water drainage technology using the highest-quality stainless steel can work perfectly with the restrained aesthetics of contemporary interiors.
Types of linear drains
Two basic types dominate the installation market: floor models and wall models, often called wall-mounted drains. The distinction is based on the location of the body and determines how the water and drainage installation must be prepared.
Floor drains are installed directly in the shower floor. Customers can choose between solid decorative stainless-steel grates and models designed to accept a matching tile insert. The tile-in version makes the channel almost invisible, with only a narrow slot collecting the water revealing the presence of the drain. Stainless steel is an important material here because it provides complete resistance to corrosion, continuous contact with water and household cleaning products.
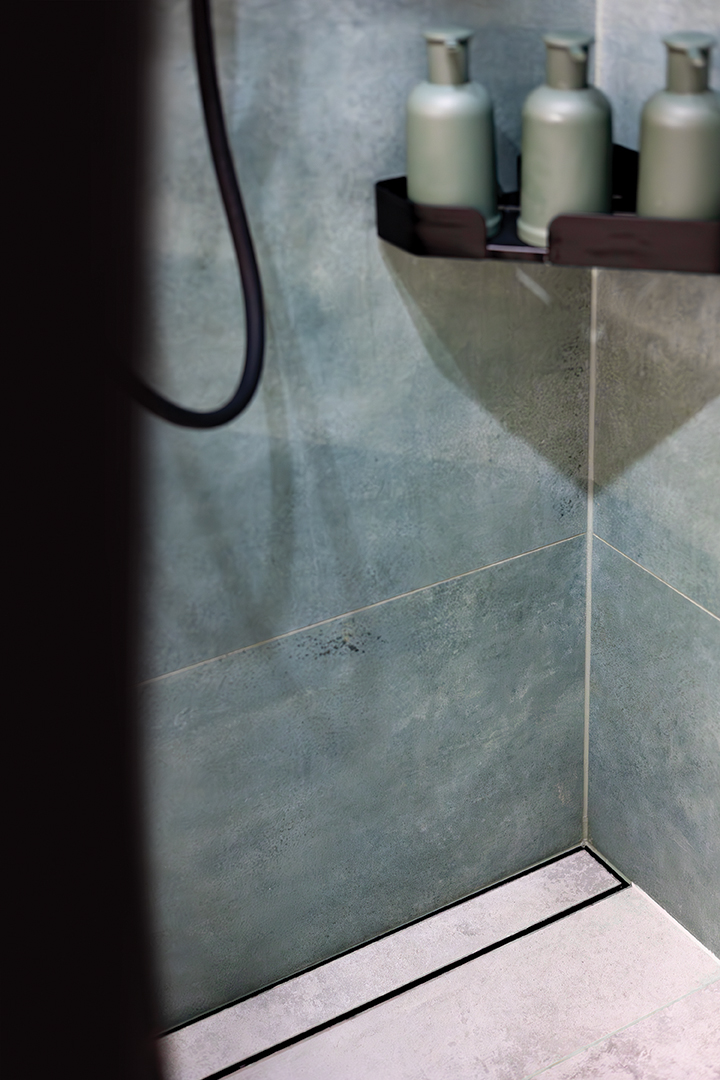
Wall drains are installed in the vertical wall structure at floor level. They are an excellent alternative when the floor structure or screed is too thin to accommodate a conventional floor channel. When choosing a model, always check the siphon flow rate, stated in litres per minute. Advanced shower systems and large overhead rain showers produce a high water flow that the drain must handle continuously to prevent the bathroom from flooding.
Preparing to install a linear drain
Before any cutting work begins, assess the thickness of the floor structure and its layers. A standard linear drain with siphon requires a recess 7–15 centimetres deep. If there is insufficient depth, the entire bathroom floor may need to be raised.
The first physical step is to mark the installation position and route the waste pipe, usually 40 mm or 50 mm in diameter. The pipe must be laid with a minimum 2% fall towards the drainage riser to prevent standing water and blocked pipes. A chase is then cut into the floor to accommodate the channel body.
The body is temporarily connected to the sanitary drainage system and levelled using the supplied adjustable feet. The channel must be perfectly level: effective drainage depends solely on the fall of the screed, not on tilting the drain itself. At this stage, the pipe connections are also dry-tested for leaks by pouring water into the siphon. Any corrections after the component has been embedded in concrete will be extremely costly.
Installing a linear drain step by step
The installation process is based on securely setting the channel, forming a sloping screed towards the drain and applying a completely watertight waterproofing layer. Mistakes at these stages can damage the walls and ceilings in the rooms below.
- Setting the working height: Fix the drain body permanently to the substrate. The upper edge of the channel should sit approximately 1–2 millimetres below the intended finished floor level, allowing for the thickness of the adhesive and tile.
- Screed and fall formation: This is the most critical stage of installation. The concrete screed in the wet zone must fall towards the channel. The slope should be 1.5–2%, equivalent to a fall of 1.5–2 cm per metre. This ensures rapid drainage under gravity.
- Applying liquid membrane waterproofing: Once the screed has dried completely and been primed, use a brush or roller to apply liquid membrane to the shower floor and the surrounding walls. Apply at least two coats in crossed directions.
- Embedding collars and tapes: Embed special sealing tapes and collars into the wet membrane at wall corners, at the wall-to-floor junction and around the flange surrounding the linear drain. They compensate for structural movement and protect the areas most susceptible to cracking.
Correct waterproofing and the choice of reliable sealing materials prevent costly renovation work. Purchasing high-quality finishing products or a bathroom mixer should always be accompanied by precise installation work that remains hidden beneath the tiles.
Finishing and checking the installation
The final stage involves bonding the ceramic finish, grouting the joints and applying a flexible seal to the most vulnerable junctions. Lay the tiles starting at the edge of the linear drain, leaving an expansion gap approximately 2–3 millimetres wide.
Once the adhesive has cured and epoxy or cement grout has been applied, fill the space between the channel and the tiles with sanitary silicone. Silicone creates a permanently flexible joint that responds to temperature changes and microscopic substrate movement without compromising the seal. Degrease the surface thoroughly before applying the silicone.
Before everyday use begins, carry out a flow test. Direct a strong stream of water onto the floor and observe its behaviour. The water should flow evenly towards the channel without forming puddles in the corners. The siphon must remove the water continuously and prevent it from spilling beyond the sloped area. If the test is successful, install the stainless-steel cover or bond a cut tile into the dedicated grate.
FAQ – frequently asked questions
How deep must a linear drain be installed in the floor?
Standard drainage systems require a recess 7–15 centimetres deep. Check the specifications of the particular model and the thickness of the existing floor structure before cutting the chase.
What is the correct fall towards a linear drain?
The correct fall is 1.5–2%. This means that the floor should drop by 1.5–2 centimetres per metre towards the drainage channel.
Can a linear drain be installed in an apartment block?
Yes, but this depends on the thickness of the floor layers. With thin floor structures, it may be necessary to raise the shower floor slightly or use a very shallow wall drain.
How should a linear drain in the floor be waterproofed?
Watertightness is achieved with liquid membrane applied in at least two coats, combined with sealing tapes and collars embedded around the channel flange. Fill the expansion gap between the tile and the drain with sanitary silicone.
Why does the shower drain smell unpleasant?
The most common cause is evaporation of the water in the siphon, which acts as a natural barrier against sewer gases. Usually, simply pouring fresh water into the drain is enough. If this does not help, the problem may be caused by inadequate venting of the drainage riser.
How often and how should a linear drain be cleaned?
Cleaning is recommended once every few weeks. Remove the cover grate, take out the hair trap and siphon insert, and rinse each component thoroughly under running water.
Is a linear drain better than a conventional point drain?
A linear drain is much easier to incorporate into a design because it requires a fall from only one or two sides, allowing large ceramic tiles to be used. A point drain requires a four-way fall from all sides and makes it necessary to cut the tiles diagonally.


